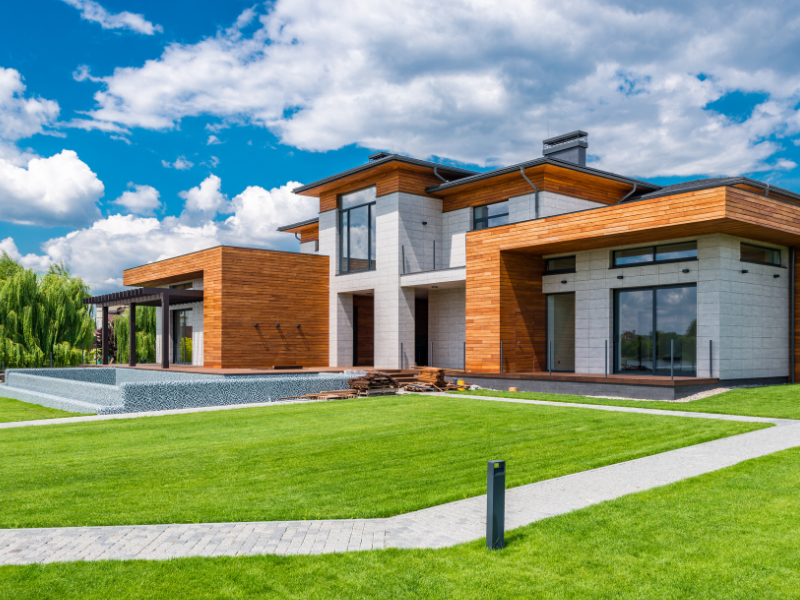
Harnessing the power of the sun through solar panels is a rewarding and environmentally responsible way to generate clean energy while saving money on your electricity bills. If you’re new to the world of solar energy and eager to get started, this comprehensive guide will walk you through the step-by-step process of installing solar panels on your property.
Step 1: Evaluate Your Property

Before diving into the installation process, it’s essential to assess your property’s suitability for solar panels. Consider the following factors:
- Sunlight: Determine the amount of sunlight your location receives throughout the year. Solar panels work best in areas with ample sunshine. Ideally, your roof or chosen installation location should have minimal shading from trees, buildings, or other obstructions.
- Roof Condition: Inspect the condition of your roof. If it needs repairs or replacement, it’s advisable to address these issues before installing solar panels. A well-maintained roof ensures the longevity of your solar system.
- Roof Orientation: South-facing roofs typically receive the most sunlight and are ideal for solar panel installations. However, east or west-facing roofs can also work, albeit with slightly reduced efficiency. Your installer can help determine the best orientation for your specific situation.
Step 2: Conduct a Home Energy Audit
Understanding your current energy consumption is crucial to designing the right solar system for your needs. Review your past electricity bills to determine your average monthly and annual usage. This information will help you size your solar system appropriately.
Step 3: Find a Qualified Solar Installer

Selecting the right solar installer is a critical step in the process. Look for reputable companies with experience in solar panel installations. Ask for references, read reviews, and request quotes from multiple installers to compare pricing and services. A reliable installer will guide you through the entire process and ensure that your system meets safety and performance standards.
Step 4: Design Your Solar System
Work closely with your chosen solar installer to design a solar system that meets your energy needs and fits your budget. During this phase, the installer will consider factors such as the number of solar panels required, panel placement, inverter options, and the estimated energy production of the system. They will provide you with a detailed plan and cost estimate.
Step 5: Obtain Permits and Approvals

Your solar installer will help you navigate the permitting process, which can vary by location. You may need permits from your local government and approval from your homeowner’s association if applicable. Ensure all necessary paperwork is in order before proceeding with the installation.
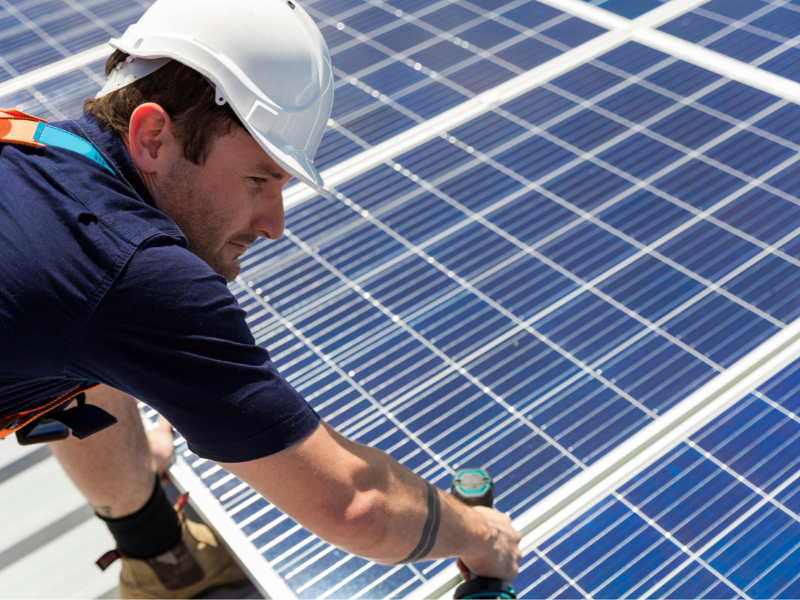
Step 6: Install the Solar Panels
On installation day, the solar panel system will be mounted on your roof or chosen location. The process typically involves the following steps:
- Roof Mounting: Solar panels are securely mounted on racks attached to your roof. Installers ensure that the panels are properly aligned and positioned for optimal sunlight exposure.
- Inverter Installation: Inverters, which convert DC electricity generated by the panels into AC electricity usable in your home, are installed. Depending on your system, you may have a single central inverter or micro inverters attached to each panel.
- Wiring and Connection: The solar panels are connected to the inverter(s) and your electrical panel. This process ensures that the electricity generated by the panels can be used to power your home.
Step 7: Inspection and Interconnection
Once the panels are installed, your local building department or utility company will conduct inspections to verify that the system complies with safety and electrical regulations. After passing inspections, your solar system will be connected to the grid. This step allows you to receive credit for excess electricity your system generates and feeds back into the grid through a process called net metering.
Step 8: Monitor and Maintain
After installation, your solar system will require minimal maintenance. Regularly monitor your system’s performance through the provided monitoring tools, which may include a web-based interface or mobile app. In case of issues or a noticeable decrease in energy production, contact your installer for repairs or servicing. Cleaning the panels periodically, typically with a soft brush and mild detergent, can also help maintain efficiency, especially if you live in an area with a lot of dust or pollen.
Step 9: Enjoy the Benefits

With your solar panels up and running, you can start enjoying the benefits of clean, renewable energy:
- Reduced Electricity Bills: Your solar panels will generate electricity, which can offset or eliminate your monthly electricity bills.
- Return on Investment (ROI): Over time, your solar system will pay for itself through energy savings, and you may even earn a return on your investment if you produce more electricity than you consume.
- Environmental Impact: By generating clean energy, you’ll reduce your carbon footprint and contribute to a more sustainable future.
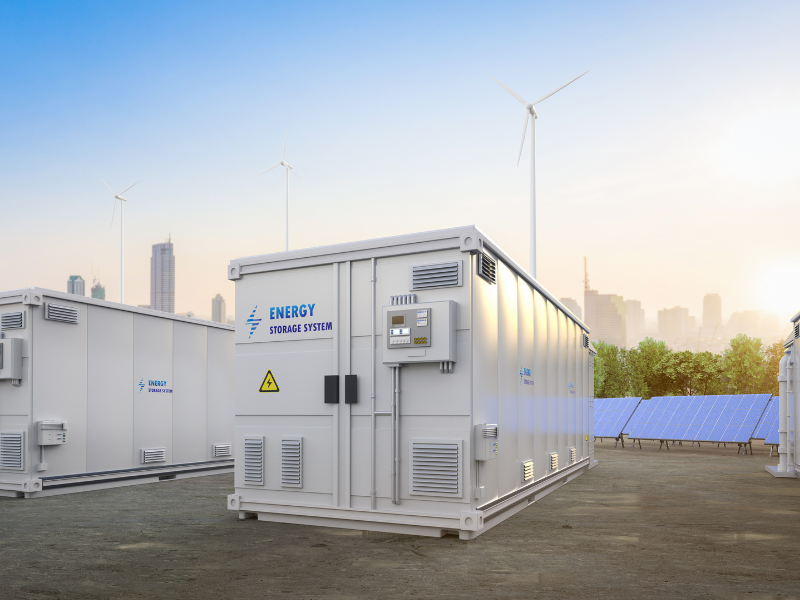
Step 10: Consider Energy Storage (Optional)

If you want to further maximize your solar investment and increase energy independence, consider adding an energy storage system like batteries. These systems store excess energy generated during the day for use during the night or during power outages, providing added resilience and energy security.
Conclusion
Installing solar panels on your property is a rewarding endeavor that can save you money and contribute to a greener planet. By following this detailed step-by-step installation guide and working with a qualified installer, you can make a smooth transition to solar energy. Embrace the power of the sun and enjoy the long-term benefits of clean and sustainable electricity. With proper planning and maintenance, your solar panels can be a reliable and eco-friendly source of energy for many years to come.

